Here is a screen shot of my Nuke scene setup. I have broken down my rendered images into their layers and passes so I can get complete control. The main idea is to merge the passes over the top of each other then I can control the levels.
I have learnt how to use grade and hue correction nodes to change the colour and make sure it looks the way I want it to. I also used mattes/alphas of the different parts of the body and model to control things individually, giving me even more control.
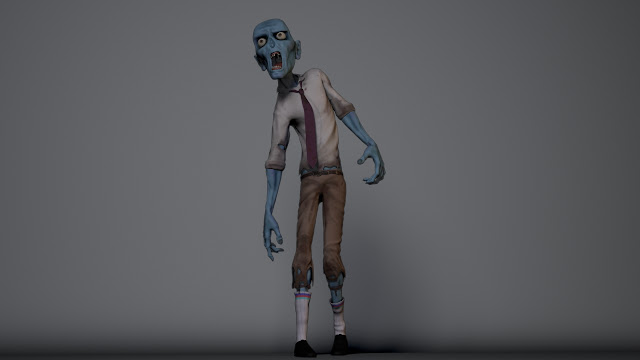
Below are three images showing my comp. I feel its a nice first draft I was able to plan with the levels and the depth/blur I wanted. I feel that I have only scratched the surface of what Nuke can do but I feel confident that I can take a render and refine it in Nuke making a better render out of it.
With this images I have tried to use the depth map pass. The image below shows this development. The head has a slight blur to the edge and the same with the hands. It gives the image abit more depth and makes it feel more 3D not just a flat render.


No comments:
Post a Comment