I had in mind a shot where we see the camera shoosts out of the lift and you see the lift shoot down the shaft. I took the challenge on as we had to model, texture and light within a few days.
Below are some images showing the model I created for the shot. Its relatively simple but needed to have enough detail to hold up. But I wanted to keep the render time down. The actual shaft is extremely long but I have enough detail to look good.

The idea when modelling the lift shaft was that the models had to be organised and be able to be duplicated without creating a scene with a huge poly count. I wanted to only model things that would be noticeable when moving at speed. So I added things like the rim you can see defining the edges as well as adding beams, pipes and metal rails that would also help the flow of the shot and give the idea of movement.


I also added a few vents to add some variation as well as I didn't want it to be too repetitive.

Next I looked into the lighting of the bults and the amount of light that will give off. I gave the light a decay and slowly increased the intensity to till I was happy with how much of the wall one light lit up. I only did this on one light to make render times faster and I wi'll know how much each light gives off individually.


Now that I'm happy with the amount the lights are giving off I duplicate it as one row so I can see the effect before duplicating it all the way down.

I rendered it from a different distance but this time each of the three lights placed in the scene a different intensity to compare them and see what one I prefer. I'm still not sure what one I think I prefer. I think i will have to add an ambient light some point along the line but at the moment I want to get the actual light source right and work from there.

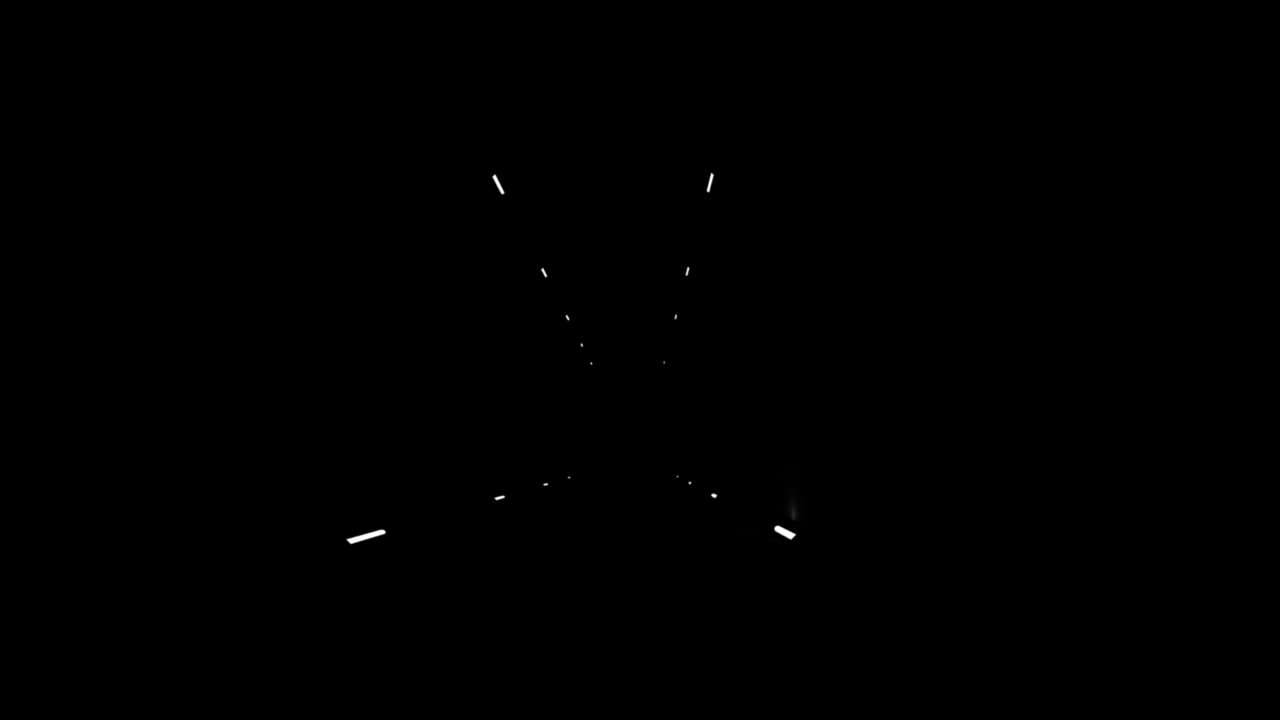
(above) Here is a first look at all the lights in the scene and I get a first look at what it will look like. My first impression is that the lights are two close together and that I don't think that it works well for what I imagined for the shot.Also I added a shader to the scene that is way to reflection. However that would be developed later on.

Above is the latest renders of the scene. I like the spacing now and feel that the levels are right. I want to add ambient lighting to create some ambient light as at the moment its far to dark.
However, we have unfortunately decided to drop this shot. Luckily enough I only spent a day on it so it hasn't really been a waste of time. The reason behind this is that the shot would cause to reanimate and re-render shots we have already finished as well as develop all the shaders, texture and finalise the lighting.
No comments:
Post a Comment