The development of shot0180 is the longest and hardest shot in the whole film. We have 7 Zombies, the intern and both environments (lift and the new model of the reception). The idea of the shot is that the lighting concept is the lift s the only light source of the room. We want to create a very scary type of shot and that everything concentrates on the intern and that everything is converging onto him.
First thing I have done is get that light setup in the lift. We have Greg's light set up to create the light within the lift but it isn't enough for what we want. I added the tiled floor into the shot. I will play with the shaders once I am confident with the lighting setup.
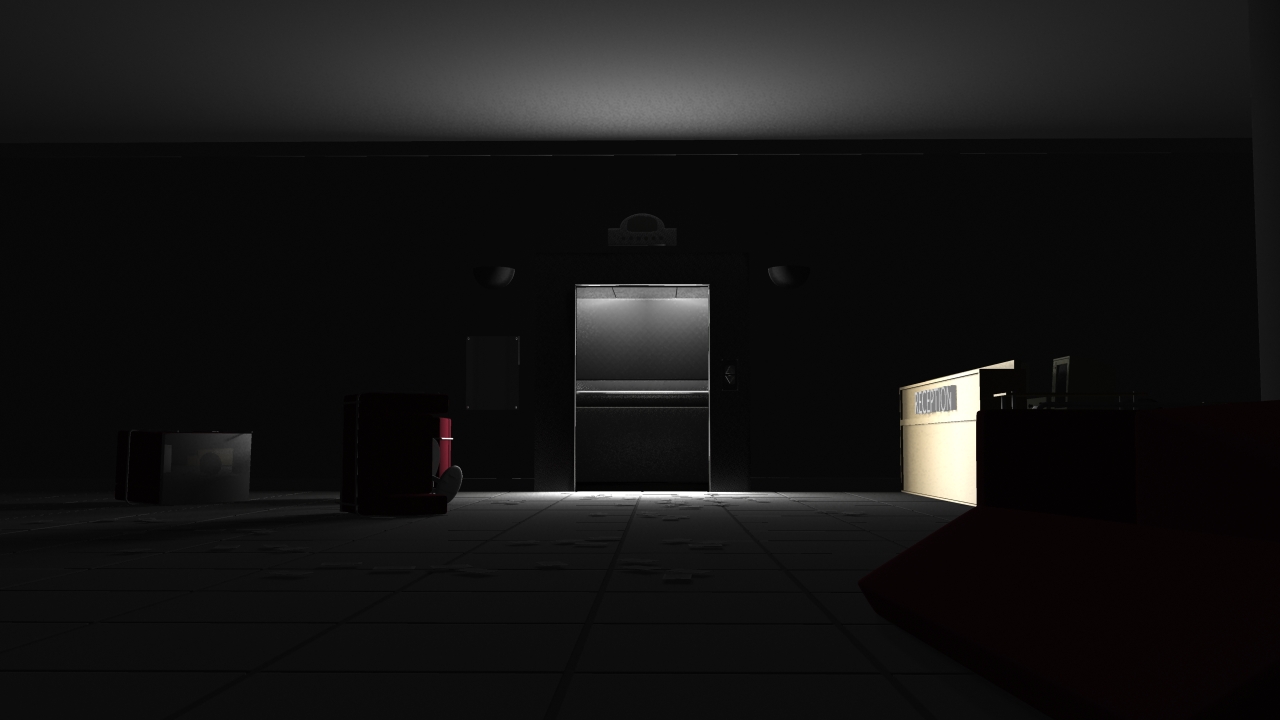
(below) This image shows the development of both the shader and the model. I added in the roof panels and vent. For shaders I firstly got a Blinn onto the floor, I wanted to get a nice reflection on the floor as it creates a nice shape of the lift and I think it works nicely as it draws more attention to the light sort that is the lift and the intern.


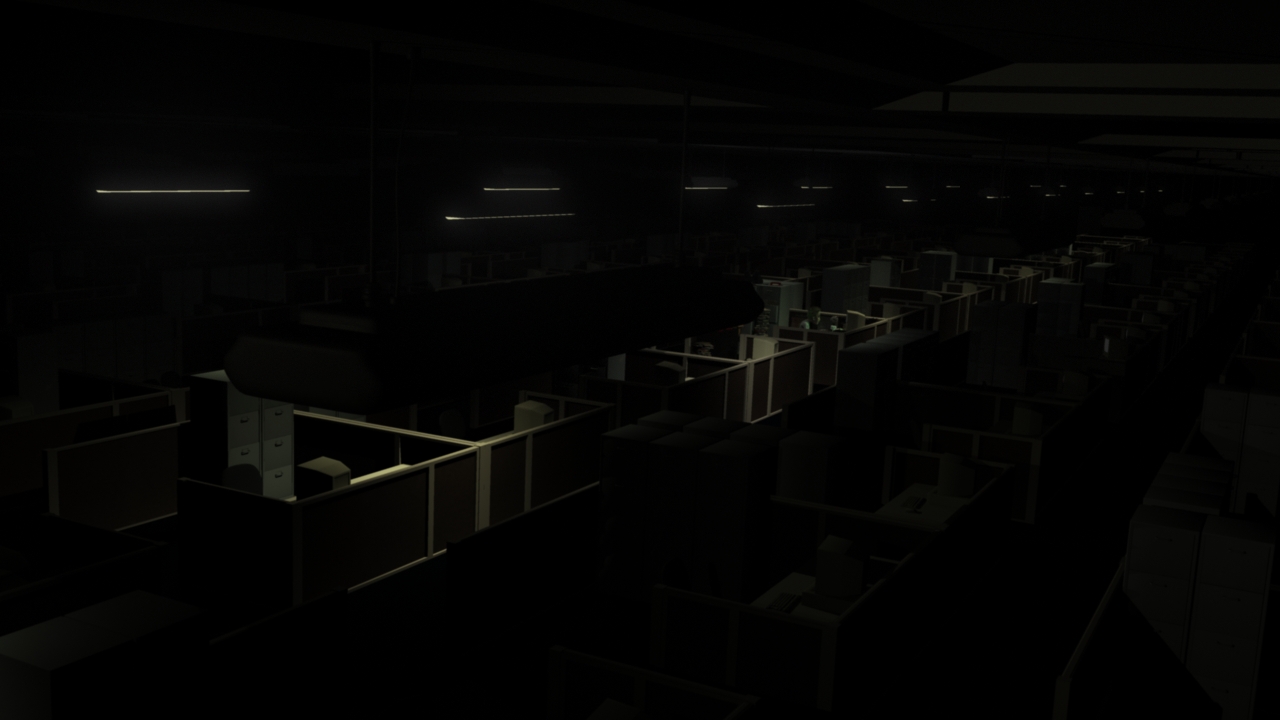
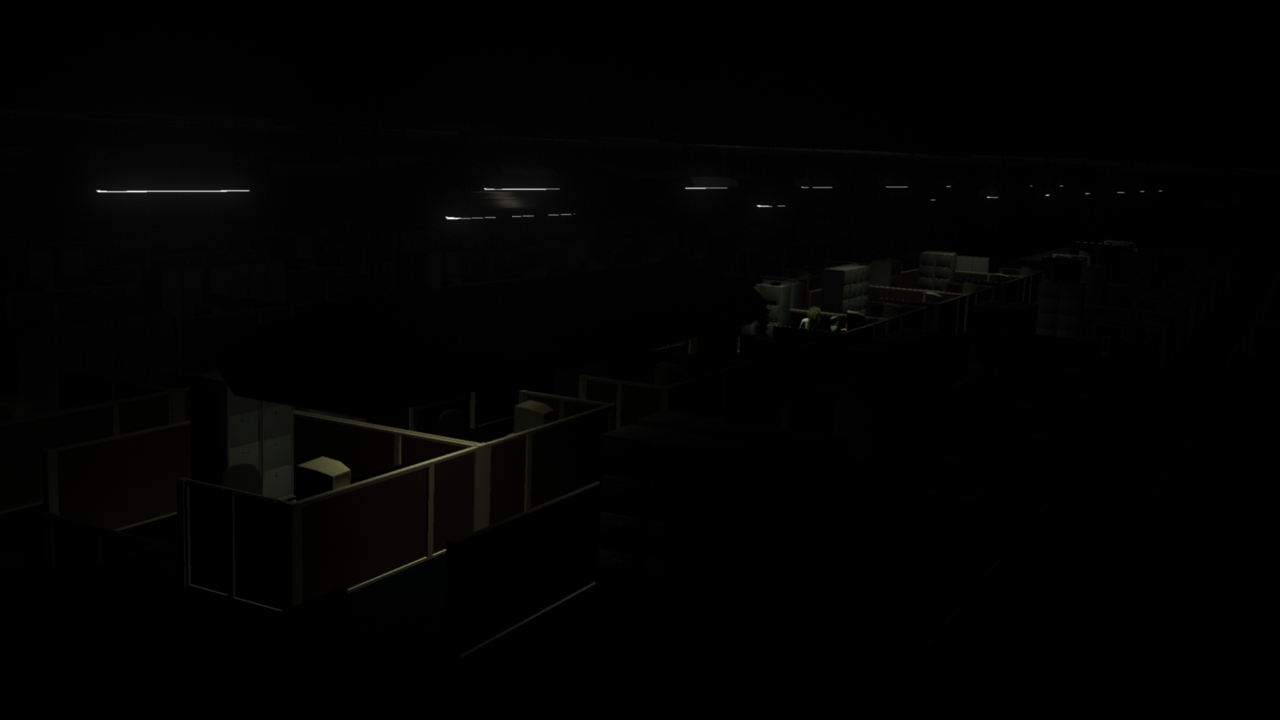
Next I have started to place a few Zombies into the scene to see whether or not the lighting works with the zombies as well. As you can see, the zombies come out to dark and don't have enough light to create an interesting shape. So the plan is to individually light the zombies!

I choose to use spot lights to light the zombie. As you can see below, the rendered image shows a nice outline to the zombie. What I had to do was to develop a method of lighting each zombie called lighting linking, which means lights only effect GEO I have selected. This is meant to show that the light is only coming from the lift and no where else. However to get the type of lighting on the zombie I had to sometimes move the lights in different places so lights didn't work well with other zombies.

The image above you can see the light effecting the floor but the image below shows that the light linking is working as the light isn't affecting anything else apart from the zombie.

Again the image above and below show the light linking working well to light the zombies.

However in this render I thought that the zombies were to dark. I thought it didn't give enough control in comp so what I have done is add another light behind each zombie and so in comp Steph can play with the levels to make it fit well.
The two images below show how many lights were created to light the zombies and the rest of the scene. Although it seems many, the lights never rendered as one big image, they were paired to a zombie and then some were assigned to a set whether that be Lift or Reception.

Here is an example of the area light that was the key light found in the scene illuminating all the Reception.

Below is an example of a the two lights used to light the Zombies. The images are render passes created from the rendered scene and show the diffuse light of the Zombie's.

The Key light is to be the main light and the one that will highlight the source of the light. When the fill light is for Steph to play with to make sure its just not pitch black behind the zombie. These two images are purely just diffuse images so no reflection, specular or shadow.


Above is an example of the comp scene. I am really pleased with the outcome I think the lights have worked well and that the lift really draws in where we want the action to be focused on and that all the zombies are looking at the intern. Really happy with how quick we managed to get things modelled and textured as well as lit within 2-3 days, giving us loads of time to render as the scene did take awhile to get all what we wanted out of it for comp.

.jpg)

